The installation instructions below should be followed when a front mounting antenna is supplied.
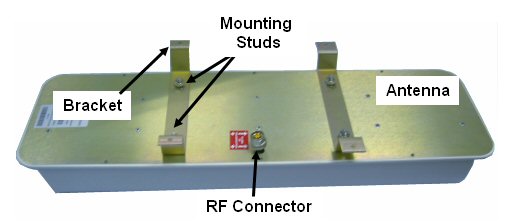
The antenna is already fitted with its brackets as per the view below.
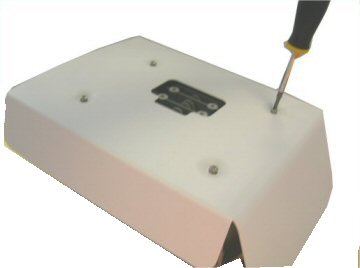
Fix the rear sun shield to the SCRT using the four M6 screws provided.
Place the SCRT on a flat surface with the RF connector facing up.
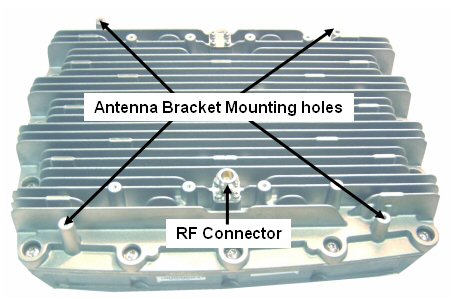
Place the antenna on top of the SCRT so that the RF connector on the antenna mates with the RF connector on the SCRT.
Loosely turn two screws with spring and flat washers through the brackets on the side furthest from the RF connector. This is to position the bracket but still allow the antenna to be moved away from the SCRT to allow access to the RF connector during assembly
Tighten the RF connector clockwise using the fingers.
Take a piece of self amalgamating tape about 5" long and weather seal the connector and cable. Stretch the tape when applying in order to obtain the best seal. Ensure the cable and connector are sealed as shown below.
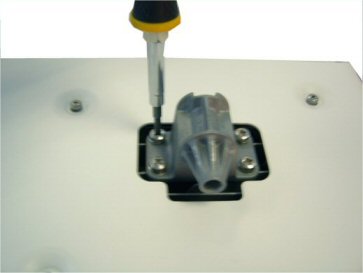
Using the screws provided secure all the antenna brackets to the SCRT using a Pozi-drive screwdriver.
Flip the unit over and fix the part of the pole mount bracket shown below to the SCRT
Fix the other half of the pole mount bracket to the pole as shown below using the two U bolts, nuts washers and spring washers provided.
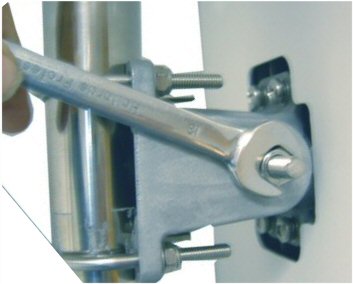
Join together the two halves of the bracket and clamp with the Nut, Bolt, and Locking washers provided. The part of the bracket connected to the SCRT is designed to locate in the head of the bolt and stop it rotating. This allows the SCRT to be Vertically aligned.
Horizontal alignment is achieved by loosening the U-Bolts slightly and rotating around the pole.
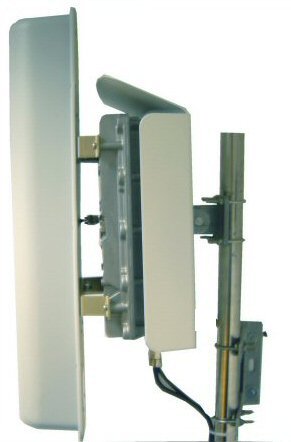
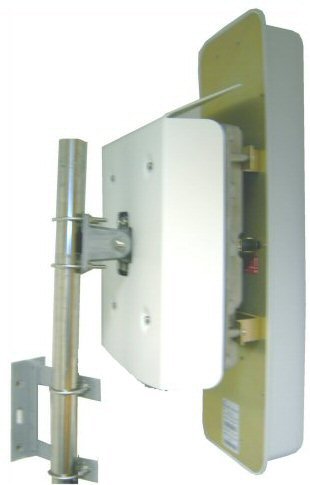
The picture below shows the SCRT installed
Following alignment ensure all nuts are fully tightened.
Attach the fibre and DC cables to the connectors at the base of the unit.
The picture below shows a completed installation.