For general information on lightning protection see 605-0000-833 Base Station Site Prerequisites Extreme care is to be taken to ensure excellent earth connections are available.
Airspan supplies optional surge protection kits for use with HiperMAX. These are generally only installed in geographies where lightning strikes are very common, ie. High risk areas.
The available kits are as follows:
LPK-SCRT-PWR-1: SCRT Power Lightning Protection Kit - consisting of 1x 48V surge arrestor
This section details the site requirements for installing these optional surge protection kits.
The SCRT power protection kit provides surge protection for the 48V DC power supply input of the SCRT. .
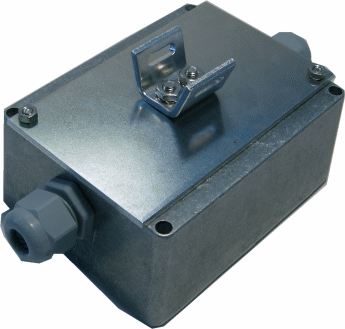
2 off DC surge arrestors in weatherised enclosures
HiperMAX: 1. As close to the SCRT as
possible.
2.
At the Building Entry
HiperMAX-micro: 1. As close to the SCRT
as possible.
2.
As close to the SCR as possible.
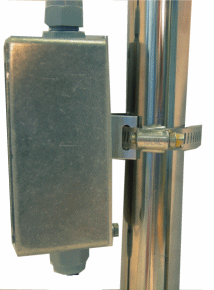
Pole Mount
Remove the top of the case (4* M4 countersunk screws) and secure the flat studded plate to the rear of the enclosure with M4 pozidrive screws, nuts and shake proof washers. (8mm spanner required).
Attach the clip bracket to the studs on the plate using M5 nuts and shake proof washers. (10mm spanner required)

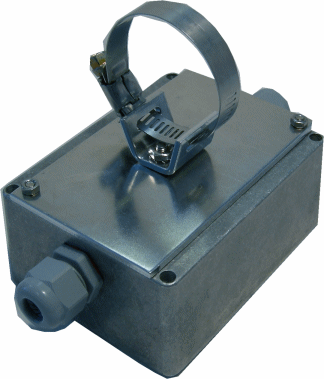
Thread the pole clip through the bracket as shown below.

Orientate the enclosure so that the protected end is closest to the equipment. Pass the clip around the pole and tighten to the pole using the captive screw on the clip.

Now connect the 48volt power cable using the following procedure.
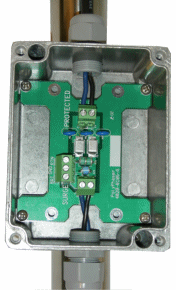
Screw the protection module into the box (position 4). Ensure that the surge and output ends of the board are correctly orientated.
Pass the cable ends through the rubber grommets and terminate the surge and protected cables on to the module as follows. (refer to lid)
White or blue to +/-.
Black to GND

Tighten the Glands around the cable to provide a good environmental seal.
Screw the lid into place with the four M4 countersunk screws ensuring the rubber weather seal is located in its groove.